Thursday, July 5, 2012

Regrowing Celery


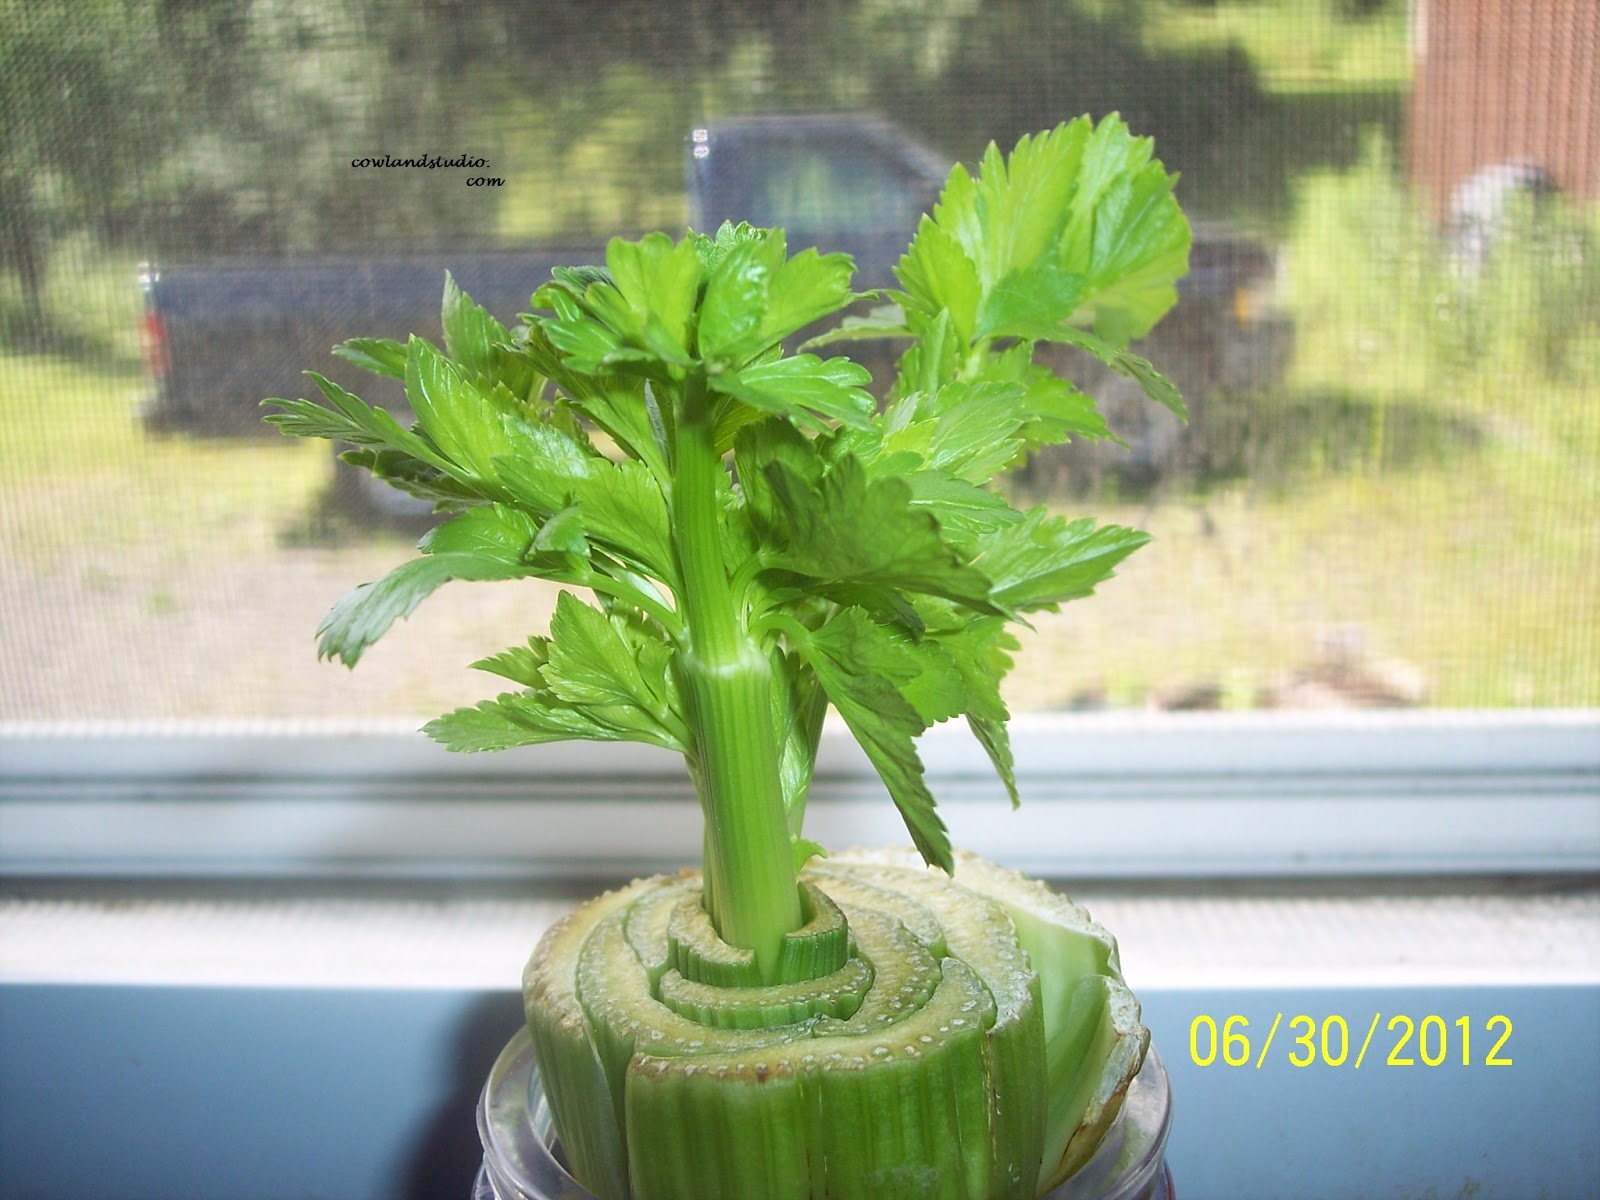
You can regrow your celery! It's easy, fast, and oh, so cheap. This is our happy little celery plant this morning, sitting in the sun. Here's a quick step-by-step on how to make this happen.

First, start with the base of your celery, leaving about two inches of stalks from the base. The base of the plant is where your roots spring from. Find a glass container (this is a votive holder) small enough to fit the whole base in snuggly. The glass will hold the celery up, suspended in the water you will put in, like so:
3rd day in water
Celery is a thirsty plant. Make sure there's enough water in the jar each day. This is the process to start the plant rooting, which will take about 7 to 10 days.

This is 7 days later, and the roots can be seen coming down from the base.
stalks!

Hubby waited four more days to make sure the roots were formed enough to plant.

Being satisfied with the healthy roots, it was time to plant this little experiment. The plant was put in a pot, hoping to keep the celery growing, cutting as we needed. And hopefully, it will keep growing through the cold season. Wouldn't that be nice?
freshly potted
Now the plant will get the needed nutrients to grow tall and strong. We are anxiously waiting for a stalk to get tall enough to see how it tastes! I'm really curious about that! This seemed to be a great way to get the stalk or two we need for certain dishes when there's only two people to feed. I'll be doing a follow-up post after harvest, so stay tuned to this channel.

Here is a healthy, happy celery regrow.

Happy Planting!

Toodles.

Cowland Studio


Saturday, June 9, 2012

Soft Molasses Cookies

ooey-gooey goodness


This cookie recipe has been in the family for a very long time. All of us grew up eating these cookies, usuallly with freshly made butter slathered over the top for good measure. Five generations have had the ultimate pleasure of these cookies. They were always ready for us, sitting on their own special spot of the pantry shelves. I couldn't find my great aunt's cookie cutter that she used, which was heart breaking, but one day I found a replica in the store and promptly bought it! Now the cookies taste like they should! But that's just me (and Mom).
There's a lot to this recipe and you have to put the batter together the way it's written, or they won't taste the way they should. So, to start off, here's the list of ingredients:

1 cup molasses (I use Grandma's Robust)
1/2 cup lard (or Crisco)
1/4 cup butter, melted (not margarine)
1/2 cup boiling water
     Mix together and add to:
1/2 cup brown sugar
2 tsp. baking soda
1/4 tsp. salt
1/2 tsp. ginger
1/2 tsp. cinnamon
2 cups flour
     Blend all ingredients together well, and add 2 more cups of flour, mixing thoroughly.
     Cover and let stand in the fridge for one hour.
     Roll out 1/4" thick, use cookie cutters for shapes.
     Bake at 400 degrees for 10 minutes.

This picture shows the 4th cup of flour added:

Here the batch is almost all mixed:

Here, the batch is ready for the fridge:

The dough, at this point, as like working with clay. The last cup of flour is hard to mix in, so make sure you've got it mixed thoroughly. When making cookies, roll out the dough on a floured surface. If you don't, you won't like the consequences! Ugh. What a mess!
Besides being the best cookies on the planet, you can use them for holidays and decorate them with frosting and sprinkles. Cut the dough into squares, then put two together with a creamy spread in the center. There seems to be no ending to what you can do to them- well, besides eat them!

Here is the recipe, written by my great grandmother, that I use. Looks like a mouse decided the paper was pretty good, too!

Now it's time for a cup of coffee and some cookies (I've already had two, nice and warm from the oven).
You are going to love these. I promise!

One more time:


Toodles.

Cowland Studio


Fabric and Paint Combination

This dollar store bag has been waiting patiently for me to 'see' what was going to be on it. The poor thing has already been around the block quite a few times, but it's still in great shape. And now, it has some jewelry all its own.
It looked like this when I purchased it.

The fabric for the strip on the front flap has been hanging around for a while, too. The design was easy enough to cut- I just cut 1/2" on either side of the individual strip for hemming, which was done with the iron.
Here it is, taped in place and ready to sew:

Stuffing the bag under the sewing machine was no treat, but I've managed worse. It was at this point that further embellishment came to me.

The darker triangle on the strip is where the inspiration came for the next part. I sketched out how I wanted it to look, at the exact size that would fit neatly on the webbing, on graph paper. From there, it was transferred to a piece of cardboard, with tiny holes to mark certain lines in the design, then transferred to the web. I started with fabric paint, but the colors weren't bright enough, so out came the acrylics. As you can see, they shine quite nicely.

As I was working on the web painting, the final front design shouted out. It's the same as the small web design, only larger, and done in the same acrylic paint.


These few simple things really transformed this dollar store bag, and it holds all my junk, I mean stuff, including my computer. Here's a close up of the front:


It's amazing how something so simple can turn out so satisfying.


Toodles.

Cowland Studio


Sunday, May 20, 2012

Perfect Iced Tea

The best thing about having chores done early, before it gets too hot, is sitting down with an ice cold glass of iced tea, home brewed with your own special touch.

Yup, it's that time for me here on the farm. These first couple days of hot weather and clear blue skies brought out the hankering for my own special iced tea, but this year it has a twist. Actually, they're chunks!
Here's how I make mine:

Heat 6 to 8 quarts of water. Do NOT boil the water and do not boil your ingredients. Once the water is steaming, take it off the heat and drop in 3 Lipton (or your tea choice) tea bags, 2 tea bags of Camomile tea, and a couple of chunks of peeled, fresh apple. Boiling the water with your ingredients will make your brew bitter.  This recipe will taste more like sun tea.
Let your brew steep for a least two hours, letting it cool down naturally while soaking up the great flavors you have added.

After your brew has cooled, pour it into a jug and added water. You will have about 2.75 quarts of iced tea after it has refrigerated overnight.

I'm sure most of you think my glass looks plain, but I assure you, the taste is totally yummy! You can add many things to your brew as it's steeping. Fresh lemon and orange slices, of course, will add a definite splash, but there are also your home dehydrated strawberries to pop in. Fresh mint from your garden will perk that glass right up! Any fresh berries will snap up your drink. As a matter of course, I dehydrate as much fruit as I can for those times in the winter where you need some extra something in your hot tea, so if you have them on hand, by all means, drop them in! The more berry, the more merry.

Or, you can just brew up regular tea with camomile thrown in just for the taste. The possibilities are endless, the combinations unique to you.
Do you have your own special recipe for iced tea? Do you keep it the same, or change it every time?

Let me know in the comment section below.


Going back to this now!

Toodles.

Cowland Studio


Tuesday, May 1, 2012

Making Rocks

Yes- you can! Anything you can paint can become a rock, just by a few easy techniques. You can create beautiful and one of a kind pieces for your home or work place easily and at a fraction of the cost. Say, for instance, you wanted to remake your counter top (which I have thought of doing!), or you need some earthy placemats for your deck table- paint it in stone! Make matching votive holders, candle plates, napkins (using fabric paint, of course)- you can do it just about anywhere.

First, assuming you've picked out what you want to paint, find the type of stone that you'd like. Do a little research. Sedimentary rocks, with their veins of color, are really the very easiest to mimic in painting. They have no set pattern (you know how Mother Nature is), so a flub here or there isn't going to make a difference, because maybe that's how it was supposed to be. But, you can use any stone style that fits with your needs.

Now that you've studied your stone, visualize your starting point. Start with your lightest shade of color. Basecoat if you'd like, but that depends on the surface you are painting. If it's originally hot pink, you definitely want to basecoat first. After your basecoat is dry, start laying down your veins of light shade. Vary the thickness of the paint, using water to thin for a more natural cast. Below, I started with a plastic tray and spray painted it with a Stone Accent spray (this was an experiment). I wanted to use the speckleness for the background.


Desert Jasper


With the basic veins in place, I started adding speckles in their special shades of color. This is where a specialty brush comes in handy if you don't want to paint dot by dot. My brush is an old filbert whose bristles are now all bent and curled, making it the perfect brush for dots, bushes, and trees. This old brush has seem more painting than you can imagine! So, if you have a brush like this, do some dots. Some spots are a thicker grouping than others. You can add some in dot by dot later, too. Keep checking your reference material, but let your hand do the work. It's fun once you get into it!

Now, start bringing in your final, darkest color for the deepest colored veins. Liner brushes are excellent for this. Follow the veins of lighter shades, but don't stick to it strictly. Those deepest veins will form wherever they will in the evolution of the rock. Thin down your paint if you need to, but I've found that the denser the color, the better the vein will look.

Here are two close ups:

That's all there is to it. Simple. Effective. Unique.

Sandstone is another easy stone to mimic in painting. These are a few beads I've painted-

This is a glass votive holder, basecoated:
And finished in Desert Jasper.
These are look-alike Purple Sea Sediment Jasper-
The bracelet in the following picture is real Desert Jasper. The bead is painted to look like it is.
Turquoise is a tough one, but I stuck to it. The copper accents come from copper metal powder suspended in a gloss varnish medium so it wouldn't oxidize while I was waiting for the paint to dry.
A plain, large bangle bracelet turned itself into turquoise:

After making this polymer clay bowl, it needed to be decorated. Here is how the 'making Sandstone' looks in the beginning stage:

It's not difficult to change something to what you want it to be. Painting is a marvelous medium to use, and with some practice, you can use it anywhere. Don't let it intimidate you. With a paint brush in your hand, You are the creator! Make it your way.

I sure do!!

Let me know what you think by leaving a comment below. Tell me what you have turned to stone!!

Toodles.

Cowland Studio


Saturday, April 7, 2012

Garden Markers- Recycled

This is a quickie little project that will not break down in damp soil, and that you can reuse over and over again. You can even get the kids involved to do the decorating, or you can just save all the fun for yourself! Here's what you will need:

empty, cleaned plastic milk jugs
heavy duty scissors
a water proof marker
your imagination!


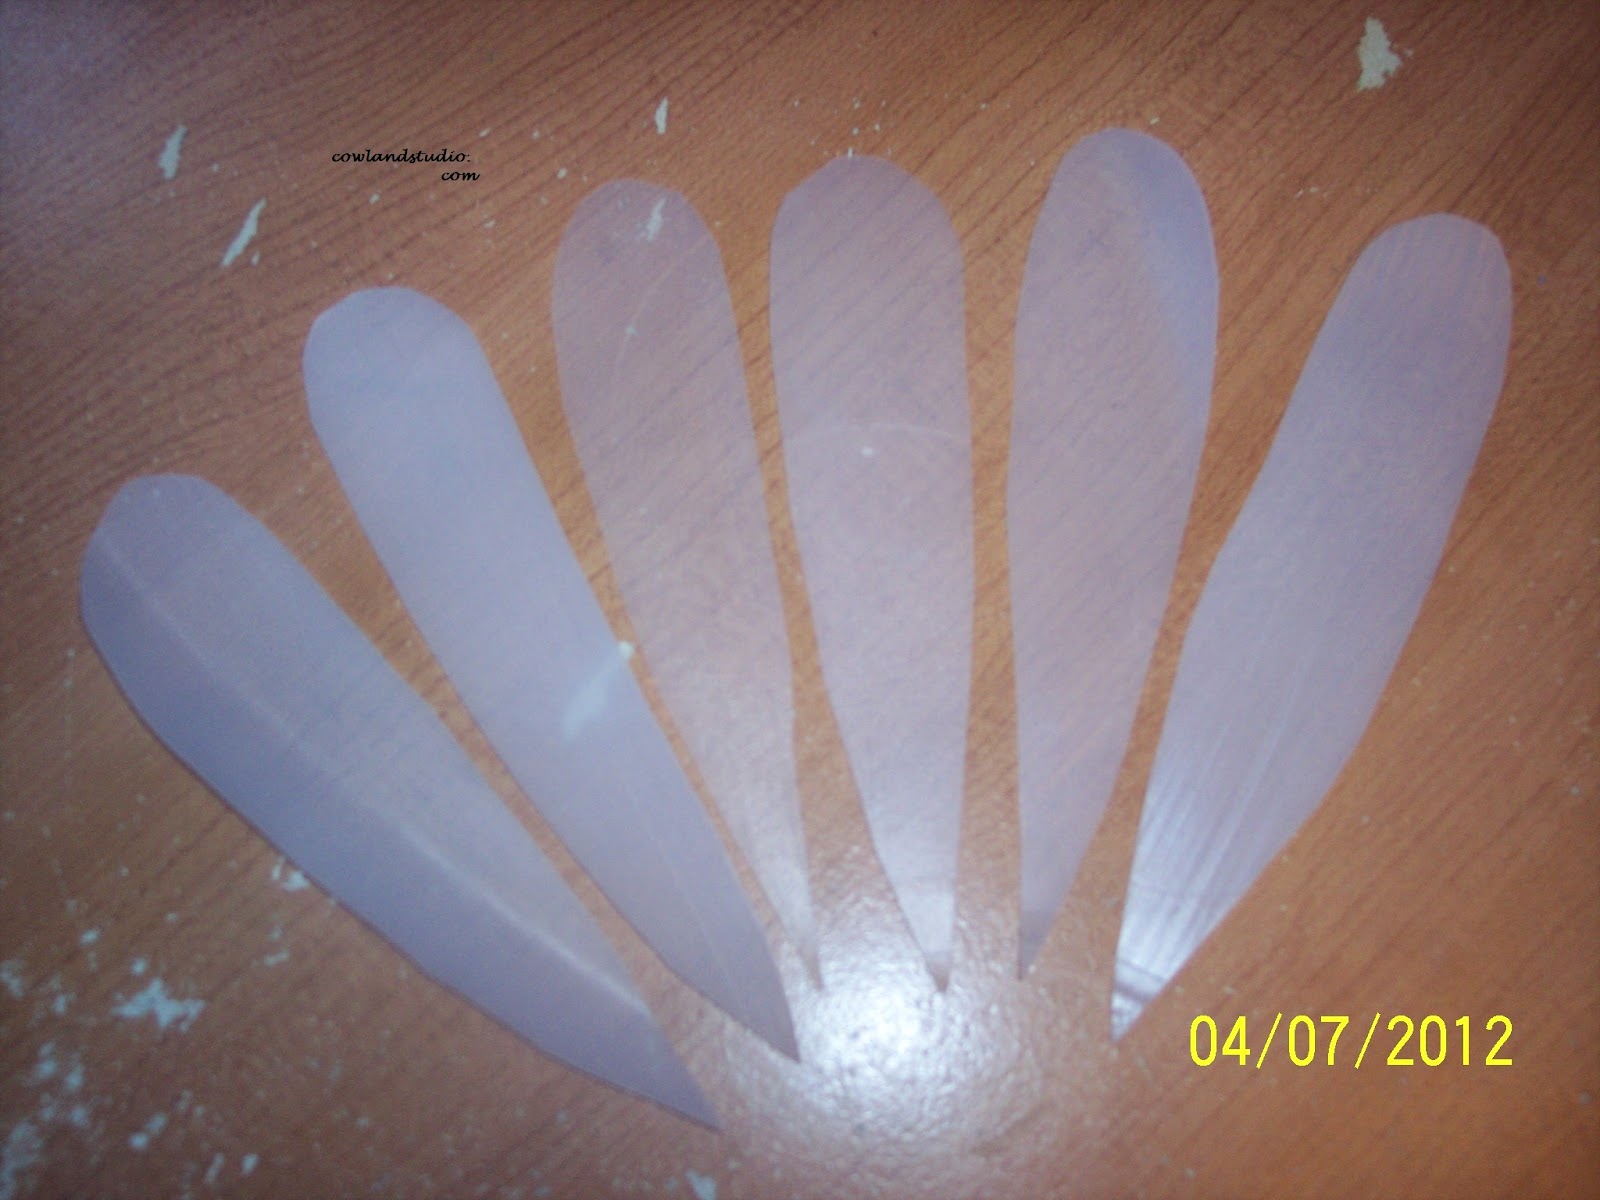
I use the long sides of the milk jug and cut as much of the flatness as I can get. Usually, a sharp knife will start the cutting process, and the heavy duty scissors take over from there.
Here is where your imagination comes in. As you can see below, I made a simple 'exclamation mark' cut for my markers, but they can take any shape you'd like, from squared to T shaped. They could be little clouds or balloons! More fun shapes equals more fun for you and the kids!

All you have to do now is write on them! I have found that Sharpie markers work well for me because we use a mister bottle to moisten the soil, but I have found that crayons work, too! When you want to reuse the markers for next year, a little isopropyl alcohol will help remove most of the writing.

All that's left is sticking them in their little pots!

Cutting your markers tall enough will allow you to elevate the plastic wrap, making a greenhouse for your seedlings, and the near-transparency of the marker allows more sun to get through.

Have fun with this little project and Happy Growing Season!

As always, feel free to leave a comment in the section below. I'd love to hear from you!


Toodles.


Cowland Studio


Tuesday, March 20, 2012

Sprouts Follow Up

This was one of those pictures that just had to be taken this morning. Hubby made himself a salad, topped with his own purple basil vinegar (which has the most delicious smell), adding in a healthy helping of fresh homegrown sprouts!
Is this yummy looking, or what?


A wonderful Welcome to Spring, for sure!

Have a happy, healthy, and warm First Day of Spring!


Toodles.


Cowland Studio