the fast and easy way!
Here is what you will need:
a blank ornament (glass or wood, plastic, or handmade)
Mod Podge Gloss
glitter of your choice
a brush to apply your mixture
a toothpick to stir your mixture
You can make your own design and transfer it to your ornament, or you can just use your imagination and let the brush go.
Ready?
Let's get started. Christmas is coming- fast!
Pour some Mod Podge into a small container that has a tight fitting lid, so that you can use your mixture again. You'll be surprised at all the places you can put a little glitter on to spice up the holiday.
Add some glitter to the Mod Podge. I always use half Mod Podge and half glitter for that full on shiny effect!
Great! Now, stir them together with your toothpick. Does it look like the right consistency to you? Will it be enough? Don't worry. If you don't get the coverage you wanted the first time, wait for it to dry and apply a second coat. It's so easy!
Okay! Before you start to apply your glitter, make sure your ornament is clean. If you are painting on glass, use isopropyl alcohol to wipe it clean and let it dry. That only takes a few minutes. Make sure you don't have any grease on your hands, unless you intend to wear latex gloves. You
don't want all your hard work to slide off the glass, now, do you?
If you have a design that you want to paint, transfer it to the ornament. With glass ornaments, I recommend resting the ornament on a soft surface while you are painting, and have something to set it in to dry. Paint small sections at a time. Let it dry (say- 15 minutes), and then paint another section. It might sound tedious, but the end result will make you smile! You'll be glad you put in a little extra time for drying in between painting.
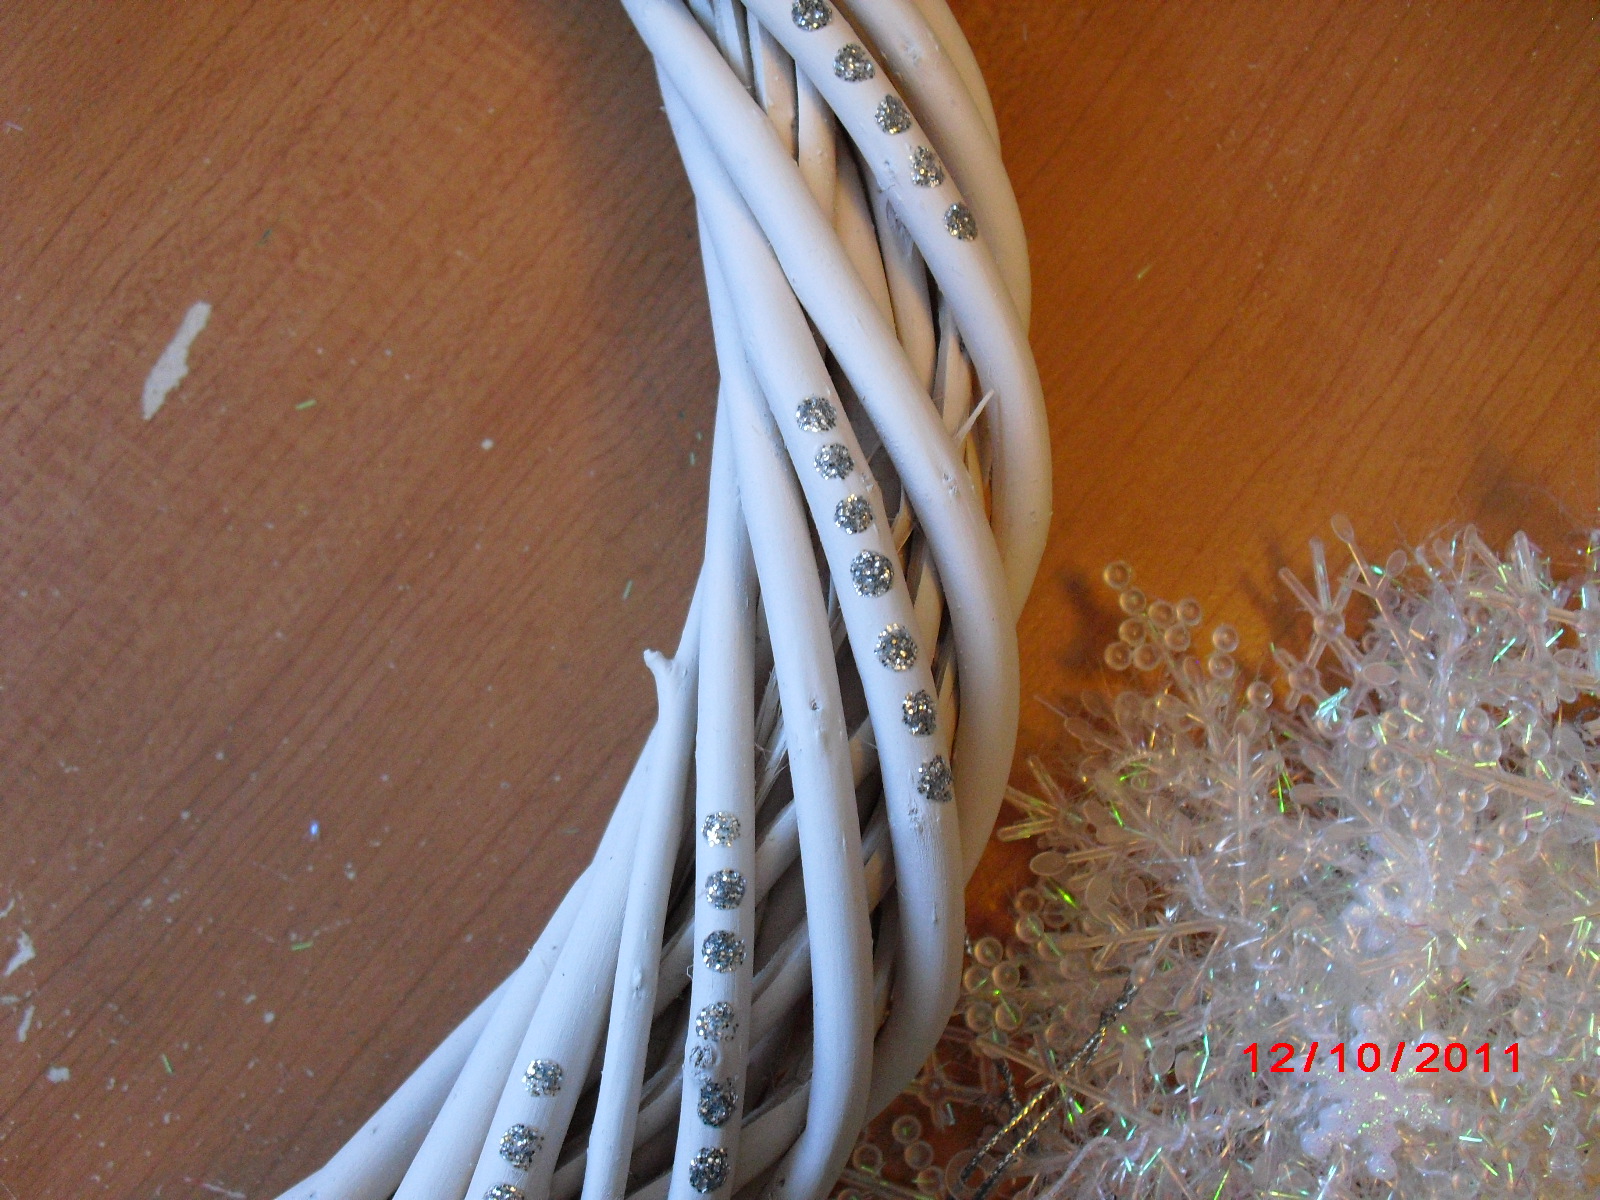
Here's the ornament I started.
The design goes all the way around the glass, and there's room for more around the middle. Don't feel obligated to paint the bottom of the ornament if you don't want to. I don't recall anyone turning them to see what's on the bottom! You're going for effect here. Glitter is the key, and that's what you concentrate on. For a little splash on this one, I used gold metallic for the dots, just for something different and to accent the glitter. Metallic pens work, also. The type of glitter pens I have come right off, so I reserve them for tags and cards.
Mod Podge can tend to be tacky, even after it's dry, but with a half glitter, half MP mixture, I haven't felt any tackiness to worry about, and the glitter hasn't lifted off at all. A rainbow of color mixtures, all ready to use, line the back of my work desk. And, there are so many places you can use this simple little mixture for some major flashy effects. I put some on a Snowman nightlight. Here's a picture of gold glitter just around the edge of a candle holder.
Once the glitter bug bites, you are all set and ready to go!
And your ornament will look stunning on your tree!
I hope this little post helps you along with
your special projects this holiday season. Let me know what you've glitzed up!
Toodles.
Cowland Studio